
I know, I know... you are on the edge of your seat, waiting to hear all about my first compost! Well I am happy to say the wait is over! Here it is! After weeks of researching and saving up my green food waste, I was ready to build my very own makeshift compost bin. Since I wasn’t sure which one to buy (there are several varieties) I decided to keep it simple and use a large, old, wooden planter I found in the backyard. I dug out the old potting soil, and got to work!
 |
| Not the prettiest, but it'll do |
 |
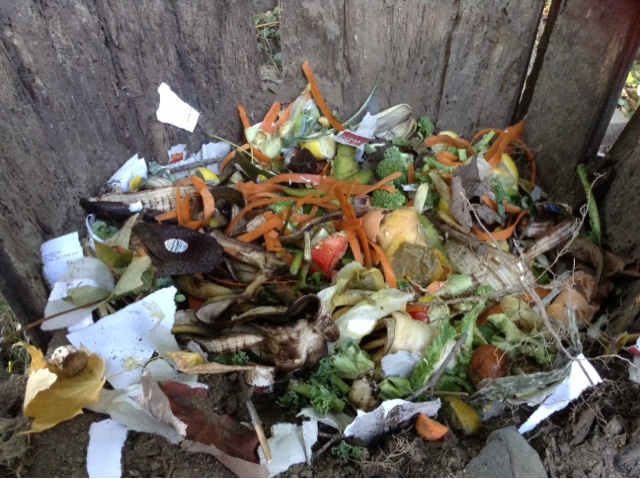
| 2 weeks worth of "green" food scraps |

I piled my greens on top of that, also a couple inches
thick. This included my kitchen scraps such as fruit/vegetable peels and cores,
grass clippings, eggshells and tea bags.
 |
| Yummy! Hopefully I'll attract some hungry earthworms! |

For my 4th layer, I repeated my first, layering a
few more inches of brown material. As you can see, the fall provides an
abundance of leaves in upstate NY, so I have no shortage of carbon-rich brown
materials J !

Composting requires moisture, but not too much, which is why
I dripped water on top of my layers before covering the whole thing with a
tarp to protect against rain and pesky critters.
Like this lil' critter, Bonzo, the neighbors/OUR cat.----------------\/
\/
\/


And there it is! And there I am, one proud composting mamacita!
I'm not going to lie and say it was easy or quick. Beginning my own compost took some work, time, and effort. But those are the three essential ingredients to creating any good thing. And to be honest, I forgot how nice, how natural it feels to spend a couple hours getting down and dirty with mother nature! I felt so good, I had to take a couple selfies...


Yup, I'm feeling myself, and my green thumb!!!
But anyways enough about me, let's get back to the compost. So, the process I've shown here was completed about two weeks ago. Since then, I've added to the compost each week, so two times so far, and each time I used my shovel to "rotate" the mixture and allow oxygen to penetrate.
Ideally, a compost should be mixed up a few times a week, if not more, but if you're lazy/busy or just aren't in a hurry for much to happen, then once a week or even less is fine. The main difference is that the materials won't compost into soil as fast. For me this is perfectly fine, seeing as my main objective was and still is to avoid creating harmful, unnecessary food waste. I have, however, found a few juicy worms living in my creation, which is always a good sign.
I should also note that I have since ordered a "single bin wire composter" from amazon. I chose wire because it receives more oxygen than wood, and will last longer than wood, but is more natural than plastic. I have yet to receive my new composter but will keep y'all updated when I do!
*Not all dryer sheets are compostable. I use 7th Generation Natural Fabric Softener Sheets, and they are 100% biodegradable/compostable, and great for sensitive skin!

Happy Composting!
No comments:
Post a Comment